
Design Details
This design was inspired by the SWYFT FTC Driver Station. We modified the design to use materials we had in stock and 3D printed gamepad holders.
The F310 Gamepad holder is modified from this Thingiverse design by twlum. We added a channel to the bottom of the holder to feed through a hook/loop cable strap.
Finished size is 11.75″ x 11.5″.
Key Features
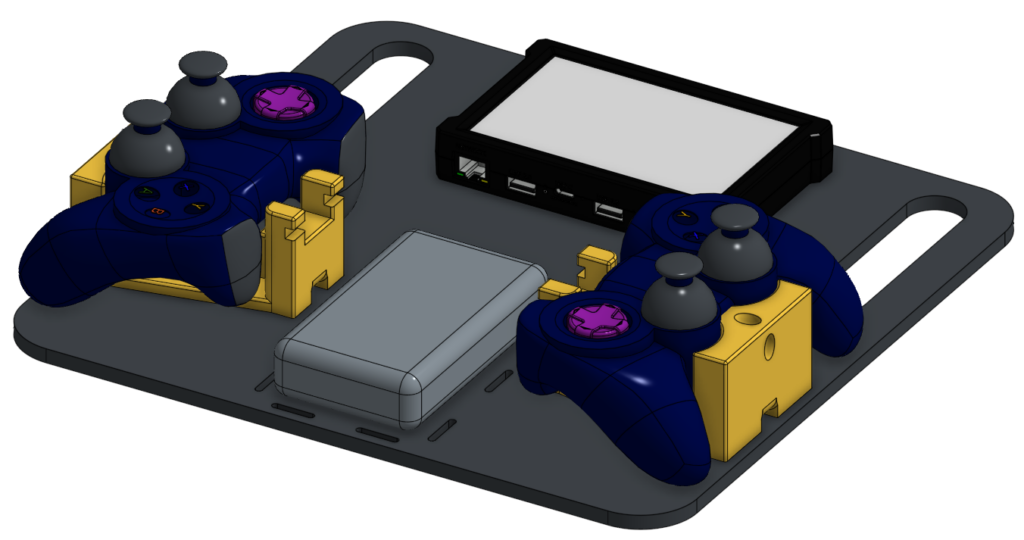
- Secure Driver Hub mount using built-in M3 inserts
- USB-C battery backup pack
- Holders for two Logitech F310 Gamepads
Materials Needed
- 0.25″ thick Delrin or other material of your choice, at least 12″ x 12″
- M3 button head bolts, quantity 2
- M4 button head bolts + locknuts, quantity 4 (up to 8)
- Rev Robotics Driver Hub
- Logitech F310 Gamepad, quantity 2
- 3D printed gamepad holder, quantity 2
- Anker Zolo 10,000 mAh portable USB-C charger
- Hook/Loop Cable Ties, quantity 8
Note: Length of bolts will be determined by the thickness of the material you use for the main plate.
Assembly Instructions
- Use a deburring tool to deburr all edges of the driver station plate.
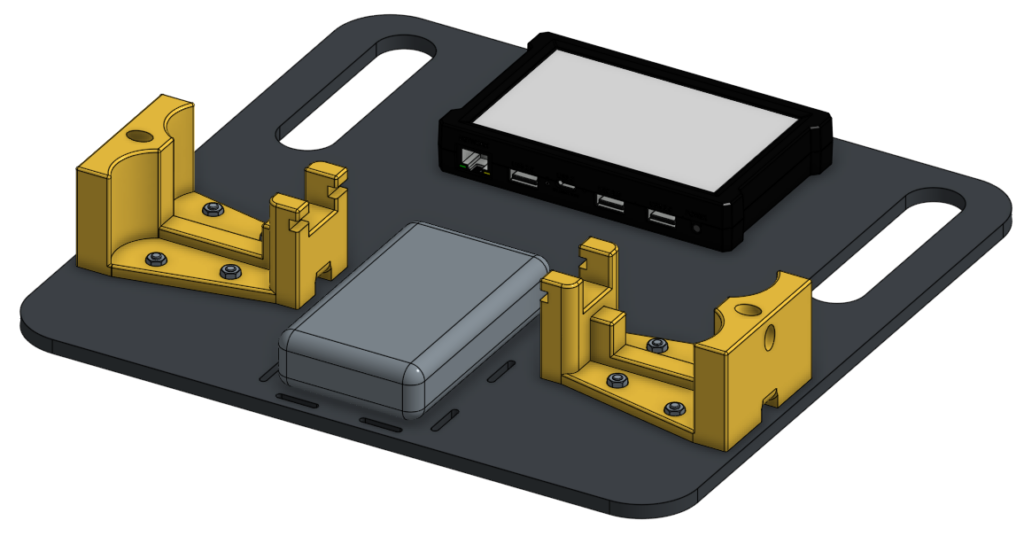
- Using two button head M3 bolts, secure the Driver Hub to the plate.
- Using at least two (up to four) button head M4 bolts and locknuts, secure each of the gamepad holders to the plate. Bolt heads should be under the plate with locknuts on top of the gamepad holders.
- Strap the battery pack onto the plate using hook/loop cable straps. Use one set of straps vertically and one set of straps horizontally to keep the battery pack in place.
- Plug the battery pack and your gamepads into the Driver Hub.
- Use hook/loop cable straps or rubber bands to secure gamepads into their holders.
Tip: You may also want to print a TPU case for your driver station like this one.
CAD and Download
See the Onshape CAD for exportable driver station plate and modified F310 gamepad holder files.